
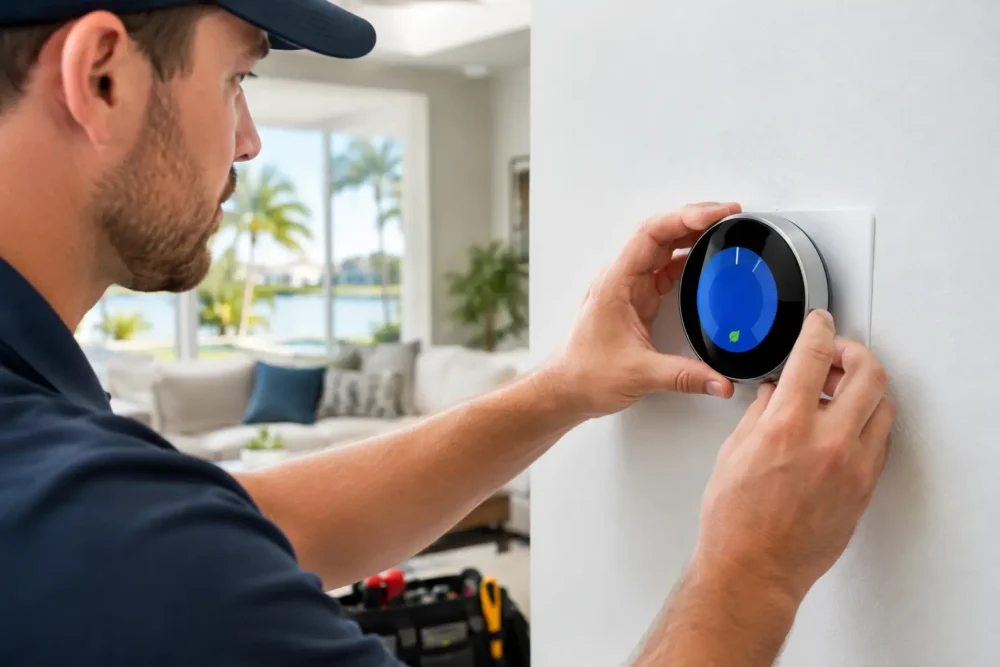
A smart thermostat can make a real difference during a Treasure Coast summer, but only when it communicates correctly with your air conditioner. Nest thermostat installation is more than mounting a new control on the wall. It involves matching the thermostat to your equipment, protecting low-voltage wiring, selecting the right location, and confirming that your system cools, dehumidifies, and cycles as it should.
For homeowners, seasonal residents, and property managers, the goal is simple: dependable comfort without surprises. A professionally installed Nest thermostat can help you manage schedules, monitor comfort remotely, and reduce unnecessary runtime. But an incorrect setup can lead to short cycling, weak cooling, drained batteries, or an AC system that will not start when you need it most.
Start Nest Thermostat Installation With Compatibility
Before removing your existing thermostat, confirm that your HVAC system is compatible. Most modern central air-conditioning systems work with Nest models, including many conventional split systems and heat pumps. However, compatibility is not just about the number of wires behind the thermostat.
Your system may include electric heat strips, a heat pump reversing valve, a whole-home dehumidifier, multiple stages of cooling, zoning controls, or a float switch designed to shut the system down if the condensate drain backs up. Each component matters. A thermostat that is connected incorrectly may cool at the wrong time, fail to control auxiliary heat, or bypass a safety feature.
The labels on thermostat wires can offer clues, but they are not a guarantee. A wire connected to a terminal marked Y usually controls cooling, while G commonly operates the indoor fan and R provides power. Yet colors are not universal, and older installations sometimes use nonstandard wiring. The terminals at the indoor air handler or furnace are the better source of truth.
If your current thermostat has only two wires, uses a proprietary communicating system, or controls commercial equipment, do not assume a standard Nest thermostat will be a direct replacement. A qualified HVAC technician can assess the controls before any wiring is changed.
Why the C-Wire Matters in Florida
Many Nest thermostat installation questions come down to one small detail: the common wire, often called a C-wire. This wire provides consistent 24-volt power from the HVAC system to the thermostat.
Some Nest thermostats can operate without a C-wire by drawing small amounts of power while the system is running. That may work well in some homes, but Florida air conditioners can face long cooling cycles, high humidity, and frequent demand. In certain setups, a missing C-wire can contribute to charging issues, Wi-Fi disconnects, unexpected restarts, or a thermostat that does not have enough power to operate reliably.
Adding a C-wire, using an approved power connector, or correcting an existing wire connection can provide a more stable result. The right solution depends on the equipment and available wiring. It is not a situation where guessing is worth the risk, especially if your AC is already working hard to keep your home comfortable.
Choose the Right Spot Before Mounting
A thermostat cannot manage the temperature accurately if it is installed in a poor location. The wall may look convenient, but nearby heat, sunlight, drafts, or moisture can distort its readings.
Install the thermostat on an interior wall in a frequently used area of the home, away from direct sun, exterior doors, windows, kitchens, bathrooms, and supply vents. Do not place it behind furniture or near lamps, televisions, or other electronics that produce heat. If the current thermostat location is already causing uneven temperatures, moving to a better spot may help, although relocating wiring can require additional work.
For homes with one thermostat and several areas that feel different throughout the day, the thermostat location becomes especially important. A master bedroom that runs warm at night or a sunny living room that overheats in the afternoon may point to airflow, insulation, ductwork, or zoning concerns. A smart thermostat can improve scheduling, but it cannot solve an underlying comfort problem on its own.
A Safe Installation Process
For homeowners with straightforward, compatible systems, the physical installation is often manageable. Still, take your time and stop if the wiring does not match what you expected.
First, turn off power to the HVAC system at the breaker. Do not rely only on the thermostat’s screen going dark. Then remove the old thermostat cover and photograph the existing terminal connections before disconnecting any wires. Labels can be helpful, but a clear photo gives you a record if a wire slips back into the wall.
Keep the wires separated and secure them with tape if necessary. Install the new base level on the wall, connect each wire to the matching terminal, and attach the thermostat display. Restore power only after every connection is secure.
During setup, select the equipment type carefully. The thermostat may ask whether you have a conventional system or heat pump, how many heating and cooling stages are present, and whether your system has auxiliary heat. Those choices affect how the thermostat runs your equipment, so they should match the actual HVAC configuration rather than a best guess.
After setup, test cooling first. Set the temperature several degrees below the room temperature and listen for the indoor blower and outdoor condenser to start. Then test heating when appropriate, along with fan-only operation if your system supports it. Check that cooled air is coming from the supply vents and that the outdoor unit is operating normally.
When a Professional Is the Better Choice
DIY installation is not always the most economical option. A wiring mistake can blow a low-voltage fuse, damage a transformer, interrupt condensate safety controls, or leave you without cooling. Those risks are greater with heat pumps, multi-stage systems, whole-home dehumidifiers, humidifiers, zoning panels, and older equipment.
Professional installation is also a smart choice when your thermostat repeatedly loses power, your air conditioner short cycles, the system does not respond to temperature changes, or the indoor unit runs but the outside unit does not. Those symptoms may be related to the thermostat, but they can also indicate an electrical issue, a clogged drain line, a failing contactor, or another AC repair need.
Treasure Coast Air Conditioning can help homeowners and businesses determine whether a Nest thermostat is the right fit, install it correctly, and verify that the entire system is operating safely. For properties in Stuart, Jensen Beach, Port St. Lucie, Fort Pierce, Hobe Sound, Hutchinson Island, or Jupiter, having a local HVAC professional inspect the system can prevent a small thermostat project from becoming a no-cooling call.
Set It Up for Comfort, Not Just Convenience
Once your Nest thermostat is installed, avoid setting aggressive temperature setbacks just because the schedule allows it. In Florida’s humid climate, allowing the home to become too warm for long periods can increase humidity indoors. When the system turns back on, it may need to run longer to bring both temperature and moisture levels back under control.
A modest schedule is usually more practical. Keep the home at a comfortable, consistent temperature while occupied, then raise the setting a few degrees when the property is empty. Seasonal homeowners can use remote access to check conditions before arriving, which is particularly useful after a storm or an extended absence.
Pay attention to comfort, not only energy reports. If rooms feel clammy, temperatures vary widely, or the system seems to run constantly, schedule an HVAC evaluation. A clean filter, clear condensate drain, proper refrigerant charge, and well-maintained equipment all affect what your thermostat can accomplish.
A Nest thermostat should make comfort easier to manage, not add another problem to solve. Start with a compatible system, stable power, correct wiring, and thoughtful settings, and your thermostat can become a useful part of keeping your Florida home comfortable through every season.